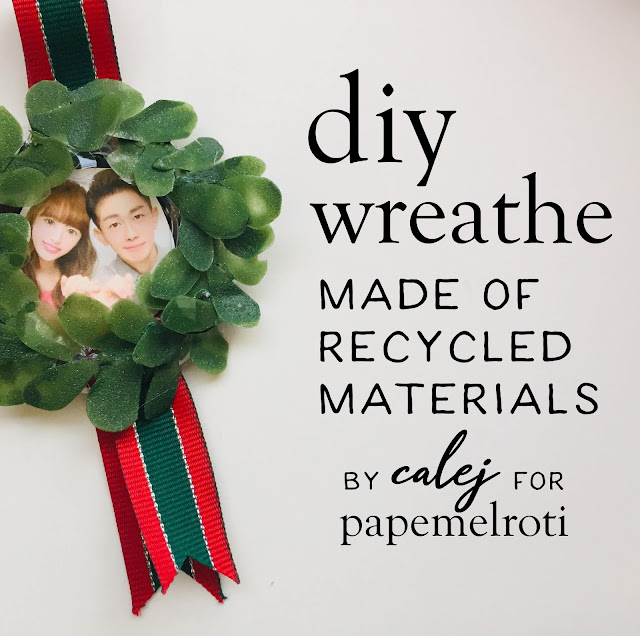
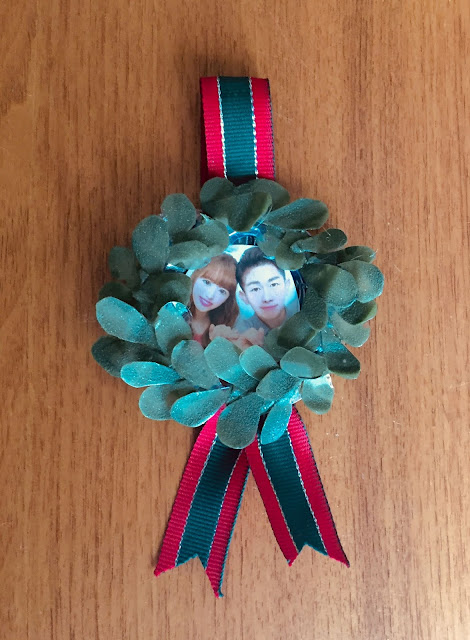
DIY Wreathe Recycled from a Plastic Water Bottle
31 Oct 2019
Everyday is a day to do something creative and crafty! What is even nicer is to make something for Christmas out of a throwaway material like plastic bottles!
Trash isn’t always our enemy if we know how to use it for a good purpose. Look at Japan - they dumped all their trash in an area and made more land to use for the now swanky residential area called Tokyo Bay.
Guess how many plastic bottles go home to die in landfills and incinerators every day (wait, EVERY DAY?). Close your eyes now and guess. Did you answer correctly? It’s actually 60 million (again, EVERY DAY).
So what? Well that’s a lot of waste materials to breathe new life into! You can do that! Yes, you! How you say? Well here is only 1 way (but there are more out there). Let’s do it!
MATERIALS
Clean plastic water bottle
Small Photo (can be of you or a Christmas scene)
Scissors
Cutter
Black Marker (optional)
Cutting Mat (optional)
Glue Gun and glue sticks
Green Nail Polish (or whatever color you want your wreath to be)
Face Mask (while applying nail polish) (Optional)
Ribbon
Felt or Corkboard
HOW TO MAKE
1. Get your work area clean and ready and all your materials on hand. Use a cutting mat to protect your surface.
2. Cut out the plastic water bottle’s bottom portion using a cutter. Please be careful! The circle shape of the bottom portion will be our base for the wreath.
3. Get your photo and cut into a small circle shape that will fit into the center of the circle. Make sure it has enough space for the leaves at the sides of the photo.
4. With your marker, make some leaf shapes on the smooth portions of the water bottle. Cut away the grooved portion of the water bottle and keep in a dry area for another future project.
5. Cut the leaves and make sure the black outline is not visible when you cut. We used a rounded leaf shape but you can make your leaves a bit sharper on the ends. It is totally up to you.
6. When you have a good amount of leaves, you can now glue gun the leaves to the round base. If you are working in a small space, you should wear a face mask to prevent breathing in toxic fumes. Best to work outdoors or beside a big window if you do not want to wear a face mask.
7. Color the leaves with the nail polish. Keep your face mask on! It can smell pretty nasty.
8. Glue gun a ribbon at the back and cover it up with felt so it looks more presentable. You can make this your Christmas giveaway! A labor of love is definitely meaningful for everyone who receives it!
Have you ever recycled anything? We want to know! Send in your craft and how-to’s to us and we may feature it and link to your blog!
See you crafting!
P.S. For everyone's benefit, "wreath" is the noun and "wreathe" is the action of making it into a wreath. This word is so confusing!
Tags:
