Make Your Own Bible or Journal Cover
30 Apr 2013

If you use your bible often, write on your journal regularly or re-read favorite novels and such, then you're familiar with tattered, sometimes tea-stained covers.
This easy to do project is for you book-lovers and writers who'd want to get more mileage out of your journals and books by letting it "wear" a nice cover.

What you need:
pencil
ruler (I misplaced my ruler so I just used a binder thingy, the one in green)
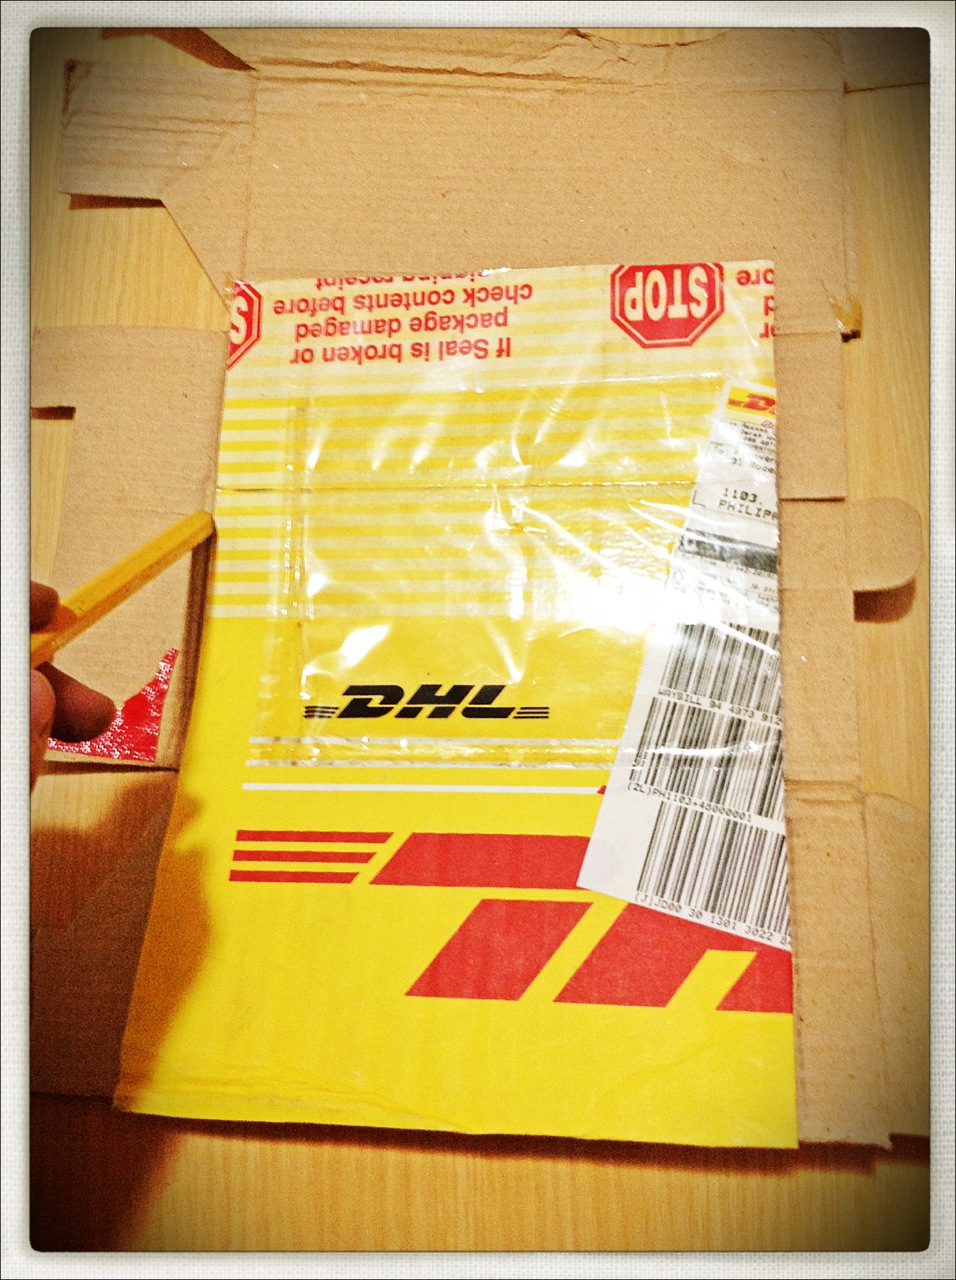
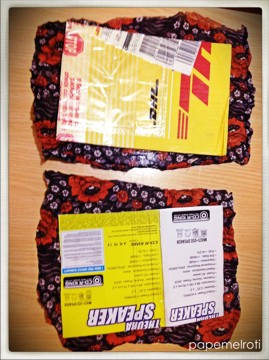
box carton (or any other sturdy cardboard)
glue gun with sticks
cutter
cloth
scissors for the cardboard
cloth scissors
ribbons and buttons (optional)
*of course you'll need the book (I used my bible since I needed a cover for it)

Step 1: Lay the book down and using your ruler and pencil, mark about a half inch around the book. So you'll have a big rectangle on your cardboard marking where you'll cut. This will be your outer book cover.
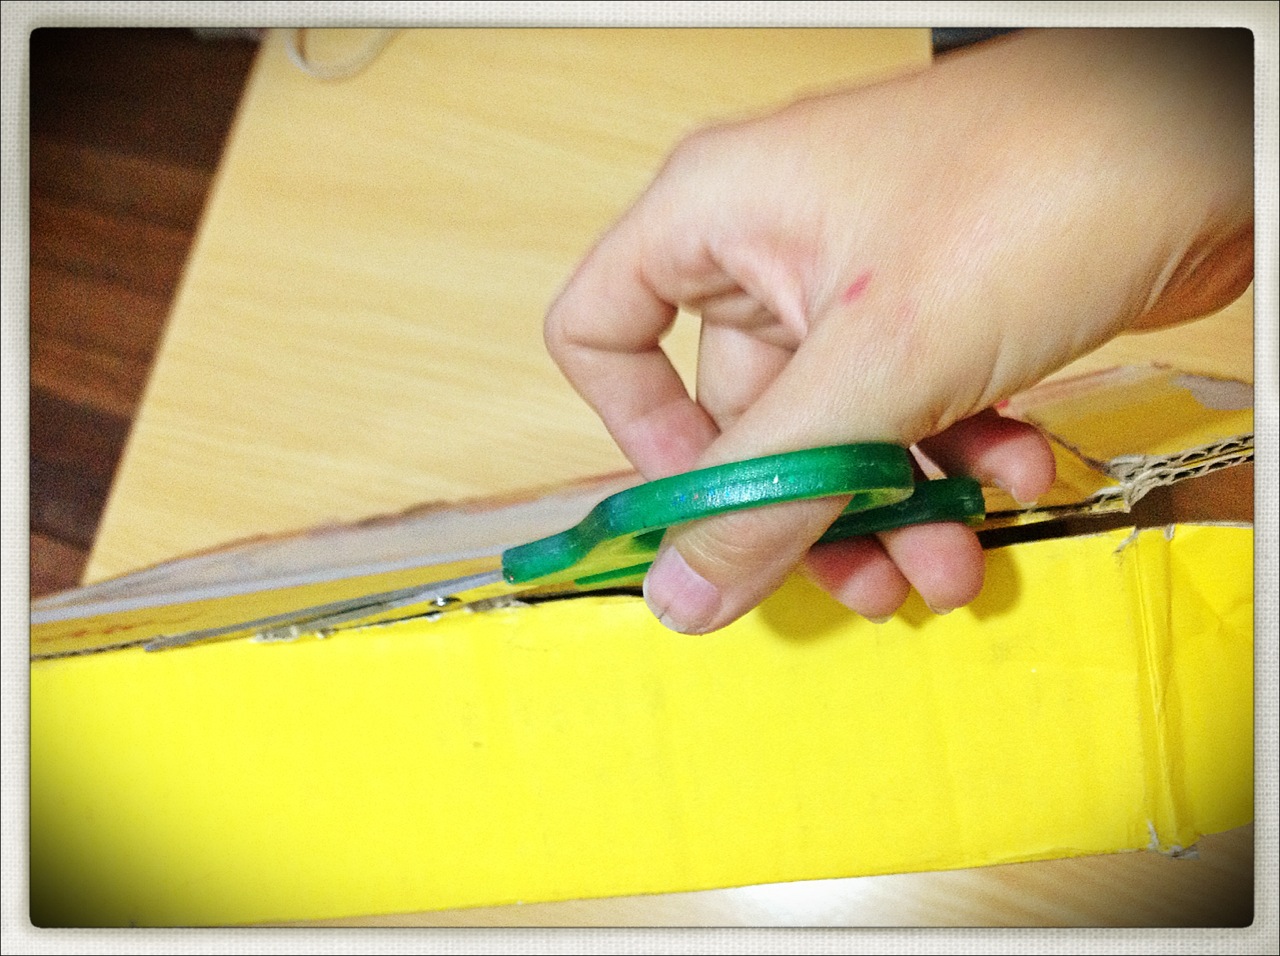
Step 2: Cut away.
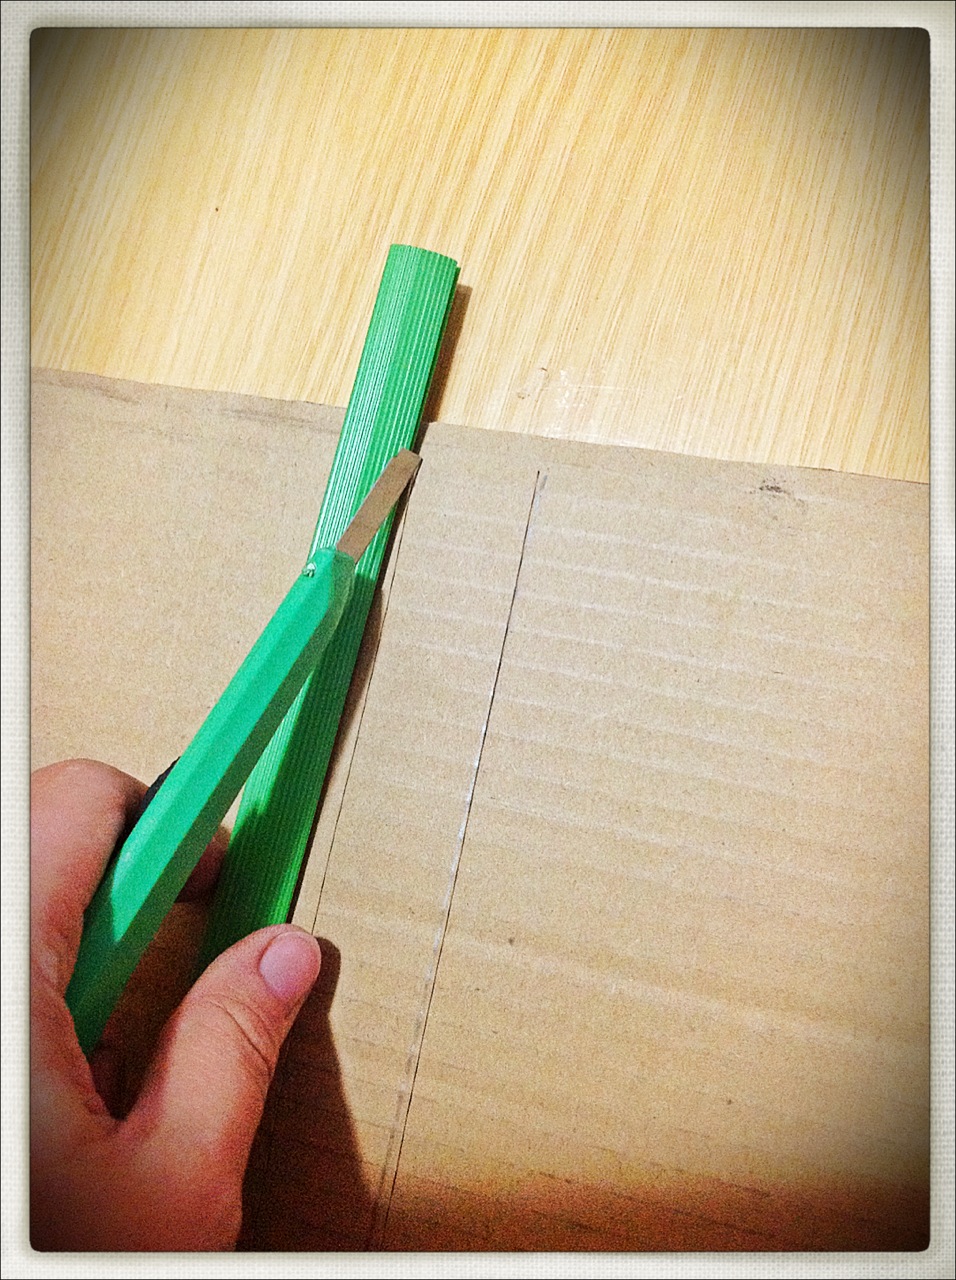
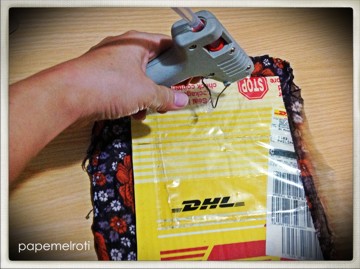
Step 3: Score the parts where you'll need to fold it. Do this by using your pencil and ruler to mark a line where you will use the cutter. Very important - don't cut all the way down, just halfway since we don't want to cut the cardboard through and through.
*This project is so easy that I was able to do it without my ruler haha!

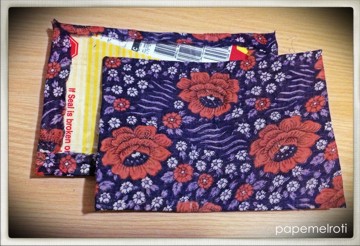
It should look like this when you fold it.
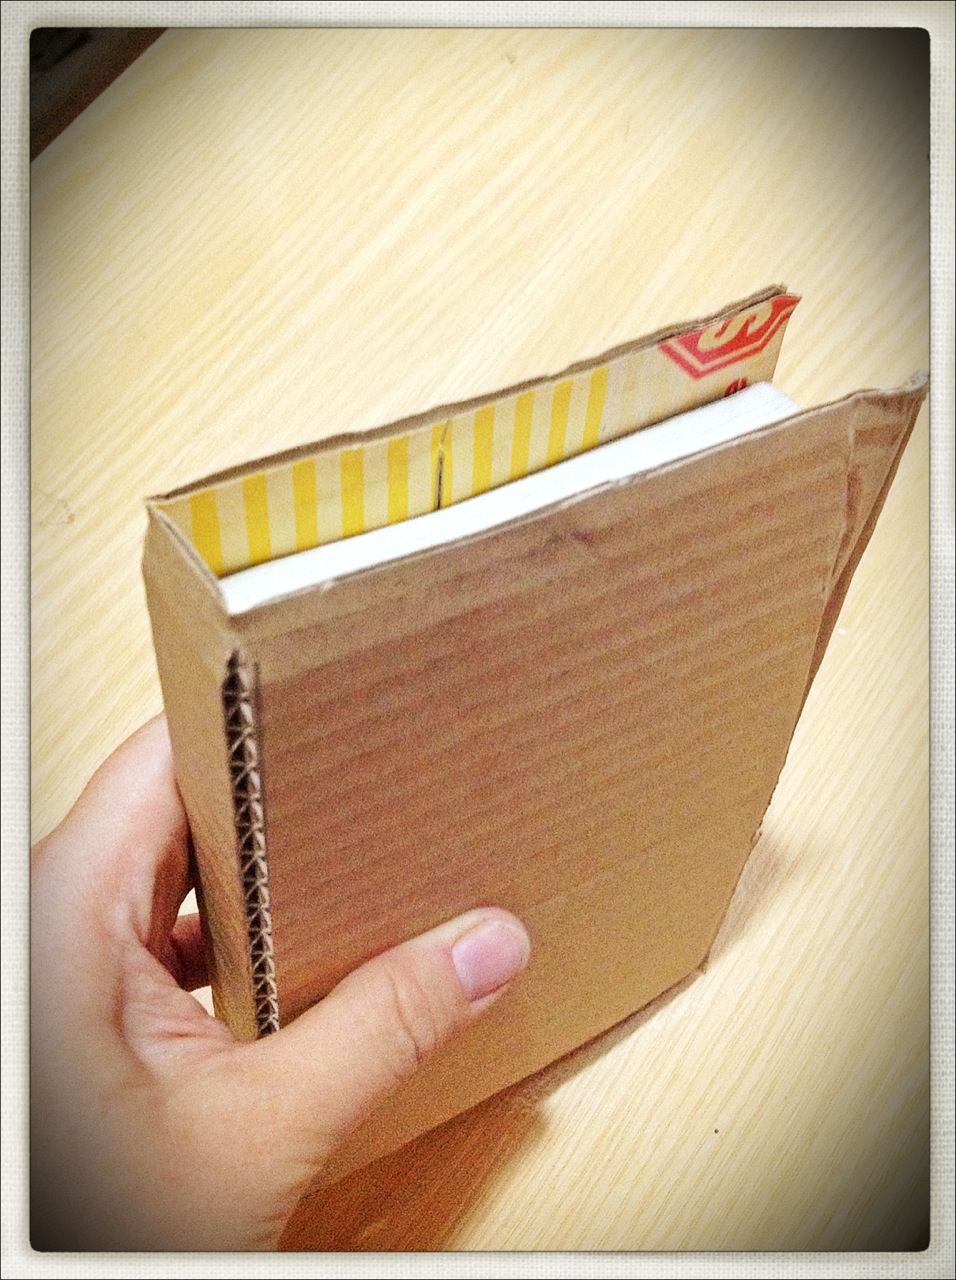
Try it out with your book! Does it fit alright?
Step 4: Proceed to make the inner cover. Lay out the first cardboard piece you cut on another cardboard sheet. Make a smaller piece by about 1/8 inch. The size should not be smaller than your book and not be bigger than the first cardboard sheet you cut out.

When done it should look like this (above).

Now it's time to "clothe" our covers.
Step 6: Glue gun the cloth onto the cardboard. Remember to attach the cloth to the side that is plain as sometimes when you are using recycled cardboard with printing on one side, this might show under your cloth specially if it is a bit thin.
We love recycling here at Papemelroti. We help reduce waste at local landfills in the process! Recycling also saves money on buying new supplies.

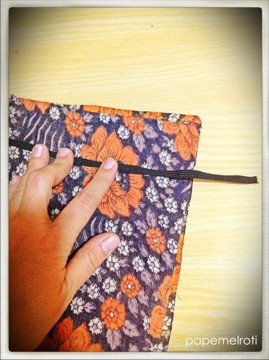
Another thing to remember when covering the cardboard pieces with cloth is to keep folding it to check if it's not too tight.


Step. 8: Put the ribbon or garter inside before gluing both cardboard pieces together. These will hold your book in place. Take note that you should be able to take out the book any time and replace with another book since the garter is elastic and the ribbon can be untied.

At this point, you can already use your cover. But if you want to do a bit more embellishment, you can add some cloth flowers.

Cut 4 equally sized squares about 3" x 3"
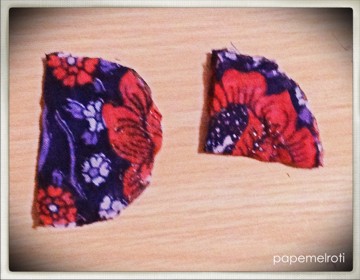
Cut the edges to curves to make a circle.

Glue gun the circles in ruffled form around in a circle formation and then attach a button on the center!
Tadah the finished product!
Crafted by Calej
Papemelroti Artist
http://calej.blogspot.com
*More crafts at http://www.papemelroti.com/crafts.htm
Tags:


