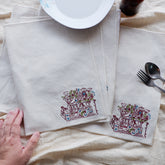
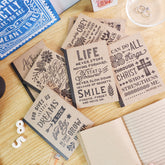
My Memorabilia Christmas Tree
25 Nov 2012
but I love it!
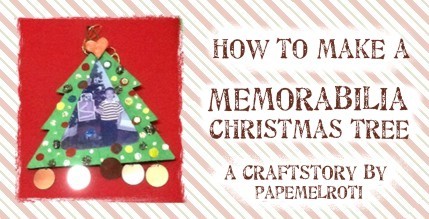
I call it my Memorabilia Tree
or my Scrapbook Tree.
There are lots of pictures hanging on it.
Every year I add more-
it's definitely not one of those shiny, sleek
and beautiful trees!
Here's one I made in about 15 minutes-
all you need is either paper or cloth,
cardboard, a glue gun, some ribbon and embellishments.
Cut out the paper into the shape you like.
This one is round, but you can have square,
oval, or even a Christmas tree or star.
If you want to use cloth, be sure to
use a mix of half and half white glue and water
to attach the cloth to paper so it's more stable.
After putting the picture in the frame,
glue a piece of cardboard to the back,
making sure to put a ribbon, twine
or string in between to hang your frame.
I spent some time embellishing it
with embroidery stitches and fabric cut outs.
This is kid's play!
Cut out a tree shape and add dots!

A fancier version.
Let your kids help and let them
decorate using sequins and beads.
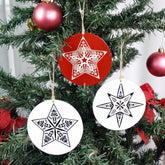
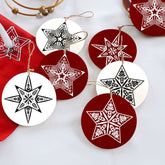
This one is made using our papemelroti
Another one I made using Craft Cuts.
If your pictures are too precious to cut up,
like this one of my mom and my sister Peggy was,
just photocopy it.
And this one is made using Kitchen Clay.
See the recipe using baking soda and
cornstarch here.
If you would like to receive
our monthly newsletters,
email us at info@papemelroti.com
and put subscribe in the subject line.
Nifty Thrifty Sunday @ Nifty Thrifty Things
Sundae Scoop @ I Heart Nap Time
Sunday Showoff @ Twigg Studios
Sunday Blog Hop @ Blissful and Domestic
Sunday Spotlight @ Positively Splendid
Sunday's Best @ My 1929 Charmer
Restyled Sundays @ Stylish Once Again
Sister Sunday Linky Party @ Sisters of the Wild West
Just Something I Whipped Up @ The Girl Creative
What's in the Gunny Sack @ Gunny Sack
Inspire Me Monday @ Create with Joy
Martha Mondays @ Watch Out Martha
Mix it Up Monday @ Flour Me with Love
Refashions/ Upcycle Week @ The CSI Project
Craftomaniac Monday @ Craftomaniac
Show Me What Ya Got at Not Just a Housewife
Whatever Goes Wednesday at Someday Crafts
Women Living Well
Works for Me Wednesday
Whatever You Want Wednesday
Tutorials, Tips and Tidbits @ Stone Gable
Wow Me Wednesday @ Gingersnap Crafts
Women Living Well
Works for Me Wednesday
Whatever You Want Wednesday
Tutorials, Tips and Tidbits @ Stone Gable
Wow Me Wednesday @ Gingersnap Crafts
Catch a Glimpse Thursday
Wildly Original @ I Gotta Create
Catch as Catch can @ My Repurposed Life
Pearls and Lace Thursday @ Faith Grace Crafts
Happy Hour Projects
Inspiration Friday @ At the Picket Fence
Frugal Friday @ Shabby Nest
Show and Tell Friday @ Romantic Home
Do Something Crafty @ See Vanessa Craft
Friday Fun Party @ Craftionary
20 Below @ Christina's Adventures
Chic and Crafty party @ The Frugal Girls
Friday Flair @ Whipperberry
Blessings,
Tags:
