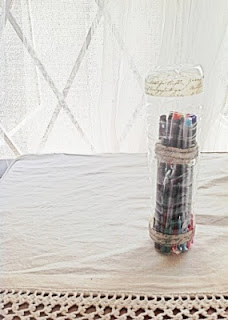
Make a Recycled Pen Holder in 5 Minutes
28 May 2013
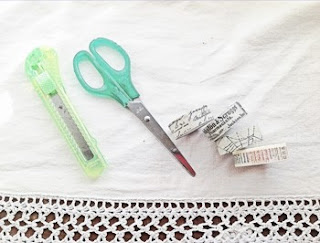
Gather all your materials first (don't count the 5 minutes yet okay?)
sharp cutter (be careful!)
sharp scissors (be careful too!)
lighter (be triply careful with this)
ribbon or washi tape
glue gun (optional)
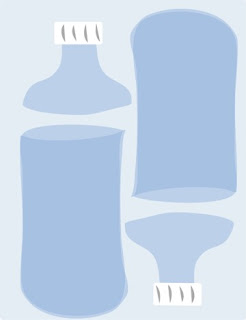
1. Cut the plastic bottle in middle portion (or nearer the lid). It depends on you if you want it the longest possible length - the nearer the lid your cut, the longer your pen case can be.
Cut the edges as the straight as you can.
Use the lighter to go over (quickly!) the edges for these to lose their sharpness. Do this in a well ventilated area. Be careful with this step as the plastic will curl if too hot.
2. Cut the other plastic bottle in the same way.
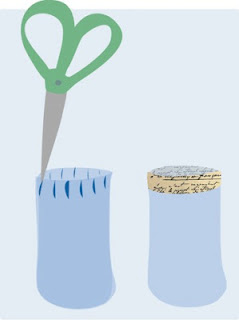
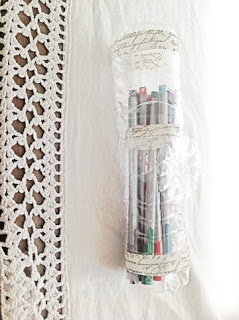
3. We need one bottle end slightly smaller then the other so we can insert it inside to form the pencil case. To do this, cut the rim of the bottle about 1/4 inch high notches (like the image below) and then curl it a bit inward so it becomes "smaller" in circumference.
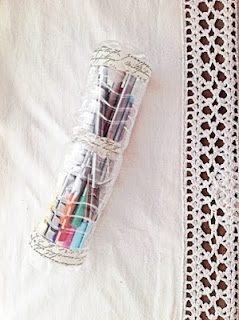
4. Secure with ribbon or washi tape.
Now you can use the pencil case. But wait, you can "girlify" it by glue gunning some embellishments!
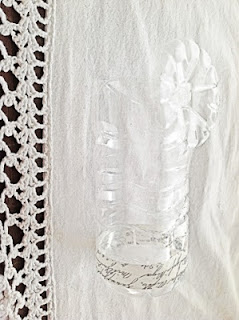
Remember the water bottle bottom? It kind of looks like a flower doesn't it?
You can glue gun it to the bigger bottle end to make it ever so cute!
You can also use this as a flower holder when you're tired of using it as a pencil case.
Here's a close up view
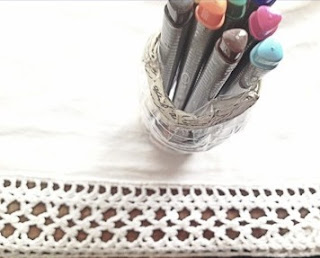
View from the top
Enjoy!
More crafts at papemelroti.com/crafts
Created by Papemelroti Artist calej
Visit her other creations at
www.papemelroti.com
and calej.blogspot.com
Tags:

