8 Ways to Use Rubber Stamps
02 Apr 2018
We're excited to share with you our newest rubber stamp sets! They're so much fun to use and there are a variety of ways you can make the most of them!
This list is by no means exhaustive but they're all quite practical and can jumpstart other projects using the same techniques.
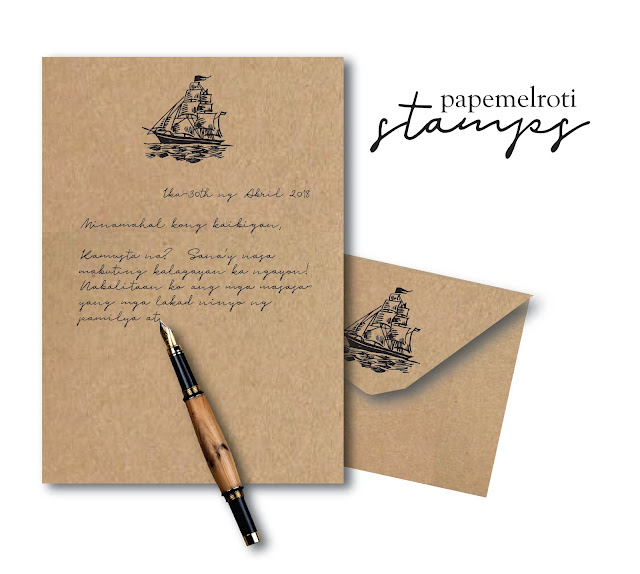
1 > > > > > > > STATIONERY SET
All you need:
Black stamp pad ink (or color of choice)
Blank paper and envelope
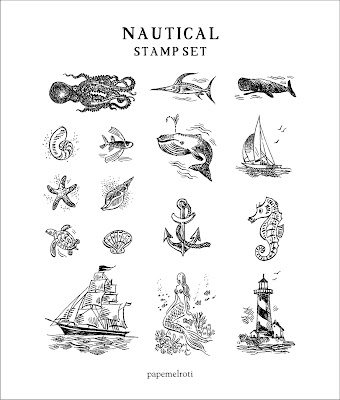
Papemelroti Nautical Stamp Set SEE WHOLE SET
How to make:
1. Choose which rubber stamp design you want to place on to the paper.
2. Practice makes perfect! Try stamping the design on scratch paper first to see how to make a perfect stamp.
3. To ensure a neatly registered design, press the stamp flatly and firmly on to the stamp pad without getting ink on the outer edges and then stamp on to the paper.
4. Do the same for the envelopes.
Note: Don't stick to one design only! That's what sets are for! You may also want to use an assortment of ink colors to create more interesting stationery.
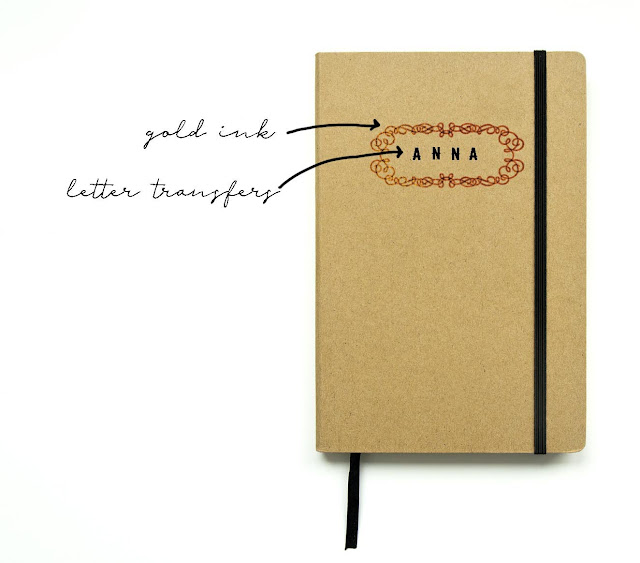
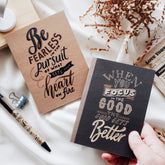
2 > > > > > > > NOTEBOOK COVER
All you need:
Gold stamp pad ink (or color of choice)
Letter transfer sets (or a good brush pen for hand lettering)
Papemelroti Scrapbooking Stamp Set SEE WHOLE SET
How to make:
1. Choose which rubber stamp design you like best to use as the text border.
2. Practice makes perfect! Try stamping the design on scratch paper first to see how to make a perfect stamp. Take note of how to position the stamp so it lands on the middle of the notebook cover.
3. To ensure a neatly registered design, press the stamp flatly and firmly on to the stamp pad without getting ink on the outer edges and then stamp on to the paper.
4. Once you have the border design on the notebook cover and it is has had time to dry, you can already put the letters using the transfer set or use some nice calligraphy to put your desired text.
Note: This design is also nice for monograms!
All you need:
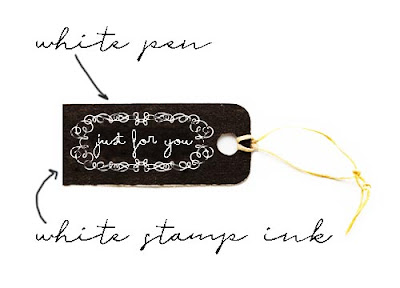
White stamp pad ink (or any light color of choice)
White, slim marker pen
Scissors
Thick black paper (construction paper / cartolina)
Hole puncher
Papemelroti Scrapbooking Stamp Set SEE WHOLE SET
Papemelroti Jute String (or yarn)
How to make:
1. Choose which rubber stamp design you like best to use as the border design.
2. Practice makes perfect! Try stamping the design on scratch paper first to see how to make a perfect stamp. Take note of how to position the stamp so it lands on the middle of the paper.
3. To ensure a neatly registered design, press the stamp flatly and firmly on to the stamp pad without getting ink on the outer edges and then stamp on to the paper.
4. Once you have the border design on the paper, you can now cut around it to make the gift tag.
5. Punch a hole at the side and insert the jute string or yarn into the punched hole to attach to the gift box.
Note: This technique can be used as a luggage tag. Instead of string or yarn, you can use a ribbon. And then, just put in the name, details and laminate!
All you need:
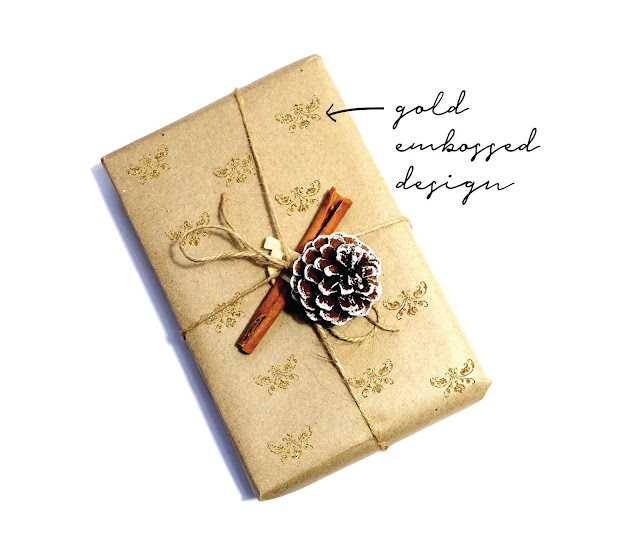
Gold stamp pad ink (or color of choice)
Any large sheet of plain colored paper
Papemelroti Scrapbooking Stamp Set SEE WHOLE SET
How to make:
1. Choose which rubber stamp design you like best to use as the pattern design.
2. Practice makes perfect! Try stamping the design on scratch paper first to see how to make a perfect stamp. Take note of how to position the stamp so it lands on the middle of the notebook cover.
3. To ensure a neatly registered design, press the stamp flatly and firmly on to the stamp pad without getting ink on the outer edges and then stamp on to the paper.
4. Now is the fun part! Lay out your paper sheet on a large surface and then start stamping away! We suggest that the space between each stamp impression remains largely similar to give the effect of a printed design. You may position the stamps facing the same direction or in different angles... it's all up to you!
Note: You may also use the embossing technique for this project. See how
5 > > > > > > > JEWELRY
All you need:
White stamp pad ink (or any light color of choice)
Chain (must be long enough to wear without needing to be unclasped)
Little Screws (with loops big enough for chain to pass through)
4 tablespoons flour
2 tablespoon salt
2 tablespoon water
Oven
Long nose pliers
Paintbrush
Acrylic Paint (grey paint is nice with white stamp pad ink)
Papemelroti Scrapbooking Stamp Set SEE WHOLE SET
Clear varnish
How to make:
1. Choose which rubber stamp design you like best to use as the jewelry design. Take note that a smaller design will be more wearable as jewelry but it will be more challenging in getting all the details visible on the clay.
2. Practice makes perfect! Try stamping the design on different clay pieces (without ink) first to experiment and see how much force you need to apply to get the desired depth.
3. Mix the flour, salt and water for 2 minutes to make it into clay.
4. Shape the clay into a small ball and then flatten into a shape that is slightly bigger than the rubber stamp design.
5. Insert the 2 screws to the sides of the clay piece and leave them there (they'll be where you'll latch the chain onto later).
6. Now it's time to press the rubber stamp flatly and firmly on to the stamp pad without getting ink on the outer edges and then stamp onto the clay.
7. Once you have design on the clay, you can now bake in a 275°F or 135°C oven for 1 hour.
8. After the clay hardens, you can paint the clay. Carefully paint around the stamp design and only on the raised edges so the design can still be easily seen.
6. Once the paint is dry, seal it by brushing on the varnish.
7. Thread the chain through the screw loops and attach together with the pliers. Now you have some elegant jewelry!
Note: You can also use this technique to make a keychain. Use the same procedure but use a shorter chain. Add some keyring loops so you can easily add the keys!
6 > > > > > > > BOOKPLATE LABELS
All you need:
Black stamp pad ink (or color of choice)
Sticker Paper
Scissors
Ruler
Pencil
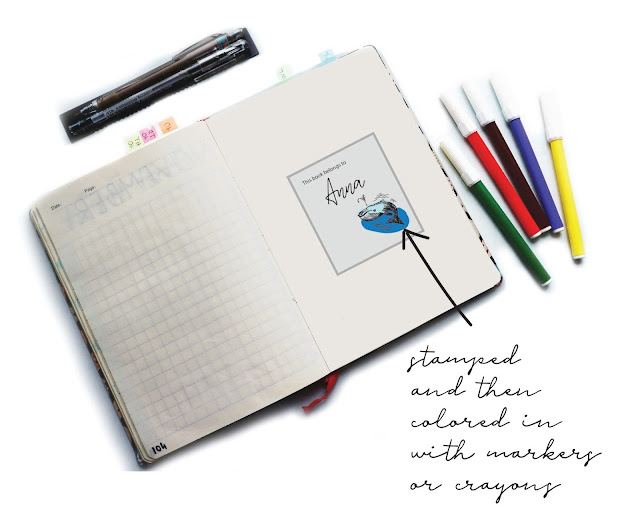
Coloring materials (crayons, colored pencils, markers etc.)
Papemelroti Nautical Stamp Set SEE WHOLE SET
How to make:
1. Using your pencil and ruler, draw rectangle shapes for your bookplates.
2. Cut out and write "This book belongs to" or "From the library of" on the top portion.
3. Choose which rubber stamp design you like best to use as the bookplate design.
4. Practice makes perfect! Try stamping the design on scratch paper first to see how to make a perfect stamp. Take note of how to position the stamp so it lands on the middle of where you want to put it.
5. To ensure a neatly registered design, press the stamp flatly and firmly on to the stamp pad without getting ink on the outer edges and then stamp on to the paper.
6. Once your design is on the bookplate, you can now color the stamp to make it more beautiful.
Note: This is a handy way to label everything (not just books)!
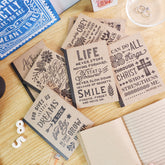
7 > > > > > > > BOOKMARK
All you need:
Black construction paper or cartolina
String or ribbon
Scissors
Ruler
Pencil
Hole puncher
Markers
Papemelroti Nautical Stamp Set SEE WHOLE SET
How to make:
1. Using your pencil and ruler, draw bookmark shapes on the black paper.
2. Cut out and punch a hole at the top.
3. Choose which rubber stamp design you like best.
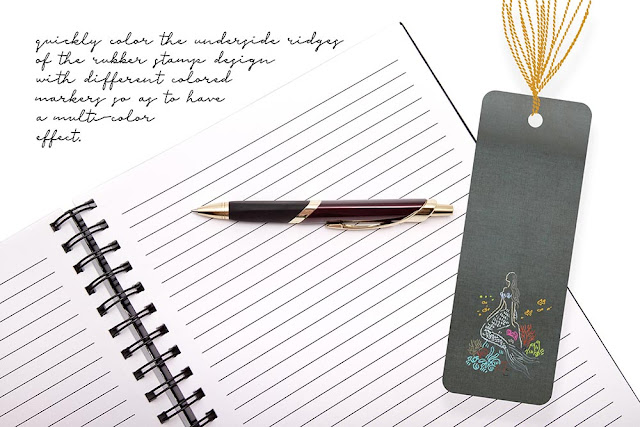
4. Flip the rubber stamp over to see the rubber ridges. Using your markers, color the underside rubber ridges on the stamp. Use as many colors as you like.
5. Press the stamp on to the bookmark firmly so as to transfer the colors from the markers on the rubber stamp to the paper.
6. Attach the string / ribbon to complete the bookmark.
Note: Use this technique on any color of paper.
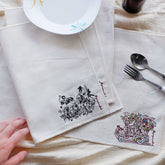
8 > > > > > > > HANKY
All you need:
Plain fabric with hemmed sides
Water-based Fabric Paint
Brayer (paintbrush or foam can work too)
Papemelroti Scrapbooking Stamp Set SEE WHOLE SET
How to make:
1. Iron your fabric so it's easy to work with.
3. Choose which rubber stamp design you like best to use. Large stamps and simple designs work best. Decide on the pattern you wish to make using the stamp.
4. Apply the paint using a brayer (or paintbrush or foam) on to the bottom of the rubber stamp (to the ridges of the rubber).
5. Practice makes perfect! Try stamping the design on fabric scraps first to see how to make a perfect stamp. Take note of how to position the stamp so it lands on the middle of where you want to put it.
6. To ensure a neatly registered design, press the stamp flatly and firmly on to the stamp pad without getting ink on the outer edges and then stamp on to the fabric.
7. Stamp away on the fabric! Let dry.
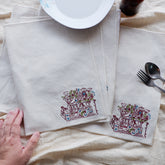
Note: Use this method on kitchen towels, placemats, etc. Nice to make matching home items!
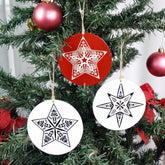
All of these projects made use of only 2 of the new Papemelroti rubber stamp sets available for shipping worldwide.
Get them now by clicking on the image below.
Tags:

